
Introduction
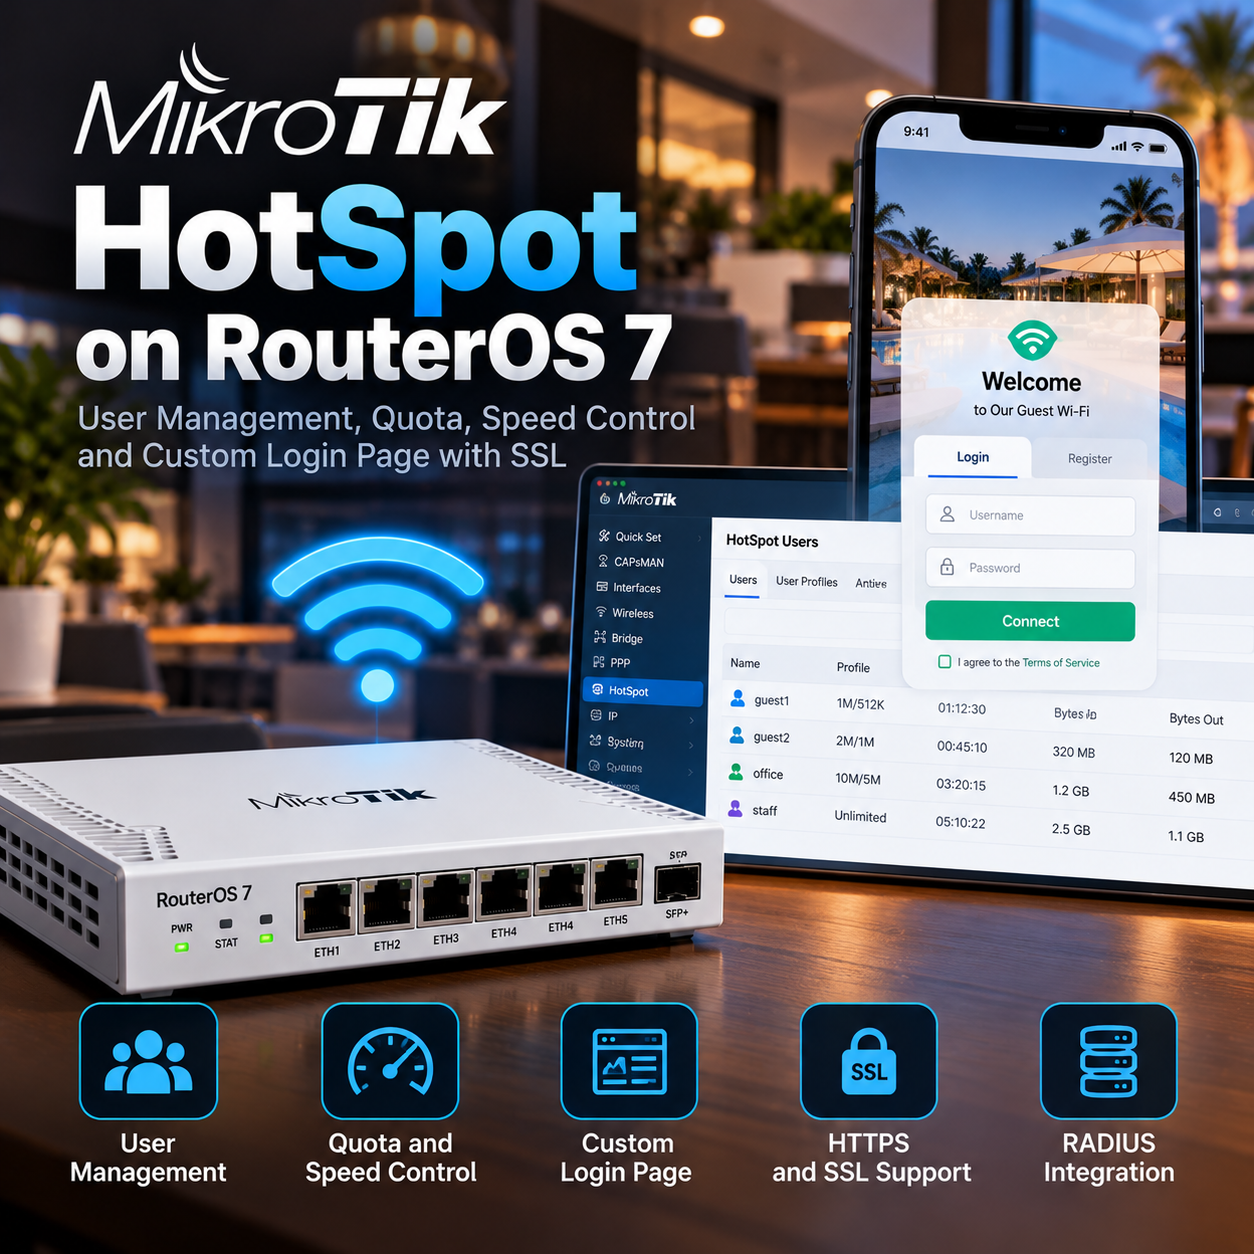
This guide explains MikroTik HotSpot: Data Quotas, Speed Profiles and a Custom HTTPS Login in a production-aware way, including the design choices, implementation checks, and operational safeguards that matter for MikroTik environments.
Prerequisites
Use a supported release, a tested backup, administrative access, a maintenance window when required, and a rollback plan. Validate DNS, time synchronization, firewall rules, storage, and monitoring before implementation.
Architecture and Core Concepts
Understand the data flow, trust boundaries, dependencies, and the expected state before changing a live environment. Separate control-plane configuration from data-plane traffic and document every external dependency.
Configuration and Validation
Apply the smallest configuration that satisfies the requirement. Keep environment-specific values in a secret-managed configuration, validate syntax before reload, and verify the result from both the service and client perspectives.
Security Considerations
Production safety
- Do not expose management interfaces or databases to the public Internet.
- Store passwords, tokens, and private keys outside the article and source repository.
- Patch dependencies, restrict administrative access, and retain audit logs.
1. Start with a small guest network
Imagine a small office that needs guest internet without sharing the staff Wi-Fi password. A login account makes it easier to assign a speed tier and a data allowance. HotSpot is already part of RouterOS; there is no separate server package to install for this local-account example.
Use RouterOS 7 with working WAN access on ether1. Reserve ether5 exclusively for a guest access point in bridge/AP mode, without its own NAT or DHCP. Management must stay on another interface. The example guest subnet is 10.20.30.0/24. Replace portal.example.com with a domain you control.
Use an IPv4 guest segment. Do not offer a parallel uncontrolled IPv6 path: RouterOS HotSpot does not provide equivalent IPv6 enforcement. Keep guests separate from staff and management networks, and enable client isolation on the AP where supported.
2. Prepare without losing management access
/export file=before-hotspot
/interface bridge port print
/ip address print
/ip route print
/system clock print
Download the export, then enter Safe Mode with Ctrl+X. Verify ether5 is free. If it is in the default LAN bridge, remove only that port in WinBox after confirming it is not your management connection. Do not remove the WAN or modify the existing LAN DHCP service. Check that the guest subnet is unused.
/interface bridge add name=br-hotspot protocol-mode=rstp
/interface bridge port add bridge=br-hotspot interface=ether5
3. Run the HotSpot setup wizard
Open IP → Hotspot → Hotspot Setup in WinBox, or run the command below. Let this wizard create the guest IP, DHCP pool and server; do not create duplicate DHCP services beforehand.
/ip hotspot setuphotspot interface: br-hotspot
local address of network: 10.20.30.1/24
masquerade network: yes
address pool of network: 10.20.30.10-10.20.30.250
select certificate: none
ip address of smtp server: 0.0.0.0
dns servers: 1.1.1.1,8.8.8.8
dns name: portal.example.com
name of local hotspot user: setup-test
password for the user: These are wizard answers, not a script to paste. The initial certificate choice is temporary; keep the guest SSID closed until HTTPS is ready. If a suitable source NAT rule already covers this subnet, answer no to masquerade instead of creating a duplicate. Use reachable organization-approved DNS resolvers.
/ip hotspot print detail
/ip hotspot profile print detail
/ip dhcp-server print
/ip firewall nat print
The remaining examples assume the wizard created hotspot1 and hsprof1. Substitute the actual names from the output. Firewall rules must permit guest DHCP, DNS to the intended resolver and the HotSpot services, while keeping router administration and internal subnets blocked. Review rule order against the existing firewall rather than disabling it.
4. Create dedicated speed profiles
Server Profile controls the portal and authentication. User Profile controls a group of users. For a guest tier with 2 Mbps upload and 8 Mbps download, create the following user profile. The rate order is from the router perspective: upload first, download second.
/ip hotspot user profile add name=guest-8m rate-limit=2M/8M shared-users=1 session-timeout=8h idle-timeout=15m add-mac-cookie=no
/ip hotspot user profile add name=guest-20m rate-limit=5M/20M shared-users=1 add-mac-cookie=no
These are per-account speed ceilings, not guaranteed bandwidth. Eight megabits per second is roughly one megabyte per second before overhead. shared-users=1 allows one simultaneous login; it is not a permanent device binding. session-timeout ends a session and does not mean the account expires after eight calendar hours.
5. Assign a data allowance to each account
Set the user password in WinBox so it need not appear in a pasted script. Create the account disabled, assign its password, then enable it. The example allows 10 GiB total upload plus download: 10 × 1024³ = 10737418240 bytes. For decimal 10 GB use 10000000000 bytes.
/ip hotspot user add name=guest01 server=hotspot1 profile=guest-8m limit-bytes-total=10737418240 disabled=yes comment="10 GiB guest allowance"
# Set a strong password in IP > Hotspot > Users, then:
/ip hotspot user enable [find where name="guest01"]
The volume belongs to the user, while the shared speed settings belong to its profile. Reconnecting does not grant a new quota. A local byte limit is not a monthly billing plan and does not automatically reset at the start of the month. For recurring plans, expiry dates and dependable accounting, use a designed RADIUS/User Manager workflow and test its recovery behavior.
/ip hotspot user print stats where name="guest01"
/ip hotspot active print detail
/queue simple print
When explicitly renewing this one account, disconnect its session first and reset its counters. This clears its accumulated traffic and uptime; record the usage beforehand if you need it. Do not reset every user just to renew one guest.
/ip hotspot active remove [find where user="guest01"]
/ip hotspot user reset-counters [find where name="guest01"]
6. Enable trusted HTTPS for the portal
What is commonly called SSL here is TLS. Obtain a certificate for your real portal hostname from a CA trusted by client devices. DNS-01 validation on a separate certificate-management host is useful when the router is not publicly reachable; it requires control of the public DNS zone. A self-signed certificate will still warn unmanaged guests.
Import the certificate, its private key and required intermediate chain through System → Certificates → Import in WinBox. An encrypted PKCS#12 bundle can carry the key and certificate. Enter its passphrase in the dialog. Identify the leaf certificate with the private-key K flag and rename it hotspot-tls. Check its SAN hostname, expiry and the router clock.
/certificate print detail
/ip hotspot profile set [find where name="hsprof1"] dns-name=portal.example.com ssl-certificate=hotspot-tls login-by=https https-redirect=no
The guest must resolve the portal hostname to 10.20.30.1. The wizard/profile DNS name creates a router DNS entry, but that only helps clients actually using that resolver. Check the DHCP network DNS setting; if using the router as DNS, enable remote requests only with firewall restrictions to trusted client segments, never an open WAN resolver.
Open https://portal.example.com/login directly and check for a valid certificate before releasing the SSID. HTTPS login protects credentials; it does not allow transparent interception of unrelated HTTPS sites. With https-redirect=no, use captive-portal detection, the direct portal URL or a plain HTTP page to start login. Plan renewal before expiry, import the replacement and reselect its certificate.
7. Build a custom login page
Download the entire generated hotspot folder first. Duplicate it as hotspot-custom, retaining status, logout, redirect and api.json files. Replace only login.html with the downloadable example. Keep assets local so the page works before internet access. On devices with flash storage, use the persistent flash/hotspot-custom path; otherwise use the actual persistent path shown in Files.
اینترنت مهمان
نام کاربری و رمزی را که دریافت کردهاید وارد کنید.
$(if error)ورود انجام نشد؛ اطلاعات حساب یا اعتبار آن را بررسی کنید.
$(endif)
$(if ssl-login == 'yes')
$(else)$(endif)
حجم و سرعت اینترنت طبق حساب شما محاسبه میشود.
Replace both portal.example.com URLs in this file. The password form is shown only on an HTTPS page and submits to the fixed HTTPS hostname. This example is for login-by=https; it does not implement the CHAP JavaScript flow. It deliberately avoids inserting raw error or username values into HTML. Keep the default landing/status flow and test on a real router.
/ip hotspot profile set [find where name="hsprof1"] html-directory=flash/hotspot-customAdjust the path to your device. If discovery fails after replacing an old template, compare api.json with the current RouterOS default. Do not add broad walled-garden exceptions just to load remote fonts or trackers. The downloadable login page uses no external dependencies.
8. Test the limits before handing it over
Connect a guest device: it must receive a guest address and reach the portal without certificate warnings, while private networks remain blocked. Log in, inspect the active entry and dynamic queue, then measure upload and download separately. If speed limits fail, check for FastTrack matching guest traffic: it bypasses simple queues and HotSpot processing. Exclude the guest segment from FastTrack in both directions and retest new connections.
For a quota test, create a separate test account with limit-bytes-total=20971520 (20 MiB) and download enough data to exhaust it. Confirm disconnection and failed re-login until renewed. Test a second simultaneous device, logout, a router reboot and both Android/iOS captive windows. Do not assume counters provide billing-grade persistence across abrupt power loss.
After successful testing, disable setup-test and remove unused test accounts. If the custom page fails, point html-directory back to the original saved folder while preserving HTTPS. Commands and template were reviewed against documentation; no live RouterOS installation or device login was available for this article.
Troubleshooting
| Symptom | Cause / Check | Resolution |
|---|---|---|
| Service does not start | Check service status, logs, ports, permissions, and configuration syntax. | Fix the reported dependency or syntax error, then restart and verify health checks. |
| Clients cannot connect | Validate DNS, routing, firewall policy, TLS, and listening address from both endpoints. | Allow only the required source and destination, reload safely, and retest with a controlled client. |
| Change caused an outage | Compare the change with the last known-good version and inspect audit and application logs. | Rollback the smallest possible change, restore service, then document the root cause and prevention. |
Best Practices
- Version-control configuration and review changes.
- Use least privilege and explicit allow-lists.
- Automate repeatable checks and monitor the expected state.
- Test upgrades and restores before production rollout.
Conclusion
A reliable implementation of MikroTik HotSpot: Data Quotas, Speed Profiles and a Custom HTTPS Login is more than a successful first run. Keep the configuration documented, observable, recoverable, and aligned with the team's change-management process.
Frequently Asked Questions
Can this procedure be used in production without a maintenance window?
Only when the platform documents a safe reload or the change is isolated and rollback-tested; otherwise schedule a maintenance window.
What should be backed up before making the change?
Back up configuration, credentials held by the service, application data, and the current version of the deployment. Test the restore path.
How do I verify that the change really took effect?
Check the service health endpoint or status, inspect logs and metrics, and run a representative client-side test from the intended network zone.
What is the first check for a timeout or connection refusal?
Check listening ports, routing, firewall policy, DNS resolution, and whether the service is bound to the expected interface.
How should secrets and tokens be handled?
Use a secret manager or protected environment configuration, rotate them after exposure, and never commit them to Git or paste them into tickets.
How can this be automated safely?
Automate idempotent checks first, add dry-run support, require review for destructive operations, and emit logs and exit codes suitable for monitoring.
What should be monitored after deployment?
Monitor availability, error rate, latency, resource saturation, certificate expiry, failed jobs, and configuration drift.
When should I roll back instead of troubleshooting in place?
Rollback when the service is unavailable, data integrity is at risk, or the blast radius is growing faster than you can isolate it. Preserve logs first.
Official References
HotSpot setup, profiles and limits
HotSpot page variables and customization