
Introduction
This guide explains ZeroTier on MikroTik and Ubuntu: connect your routers and offices in a production-aware way, including the design choices, implementation checks, and operational safeguards that matter for MikroTik environments.
Prerequisites
Use a supported release, a tested backup, administrative access, a maintenance window when required, and a rollback plan. Validate DNS, time synchronization, firewall rules, storage, and monitoring before implementation.
Architecture and Core Concepts
Understand the data flow, trust boundaries, dependencies, and the expected state before changing a live environment. Separate control-plane configuration from data-plane traffic and document every external dependency.
Security Considerations
Production safety
- Do not expose management interfaces or databases to the public Internet.
- Store passwords, tokens, and private keys outside the article and source repository.
- Patch dependencies, restrict administrative access, and retain audit logs.
What are we connecting?
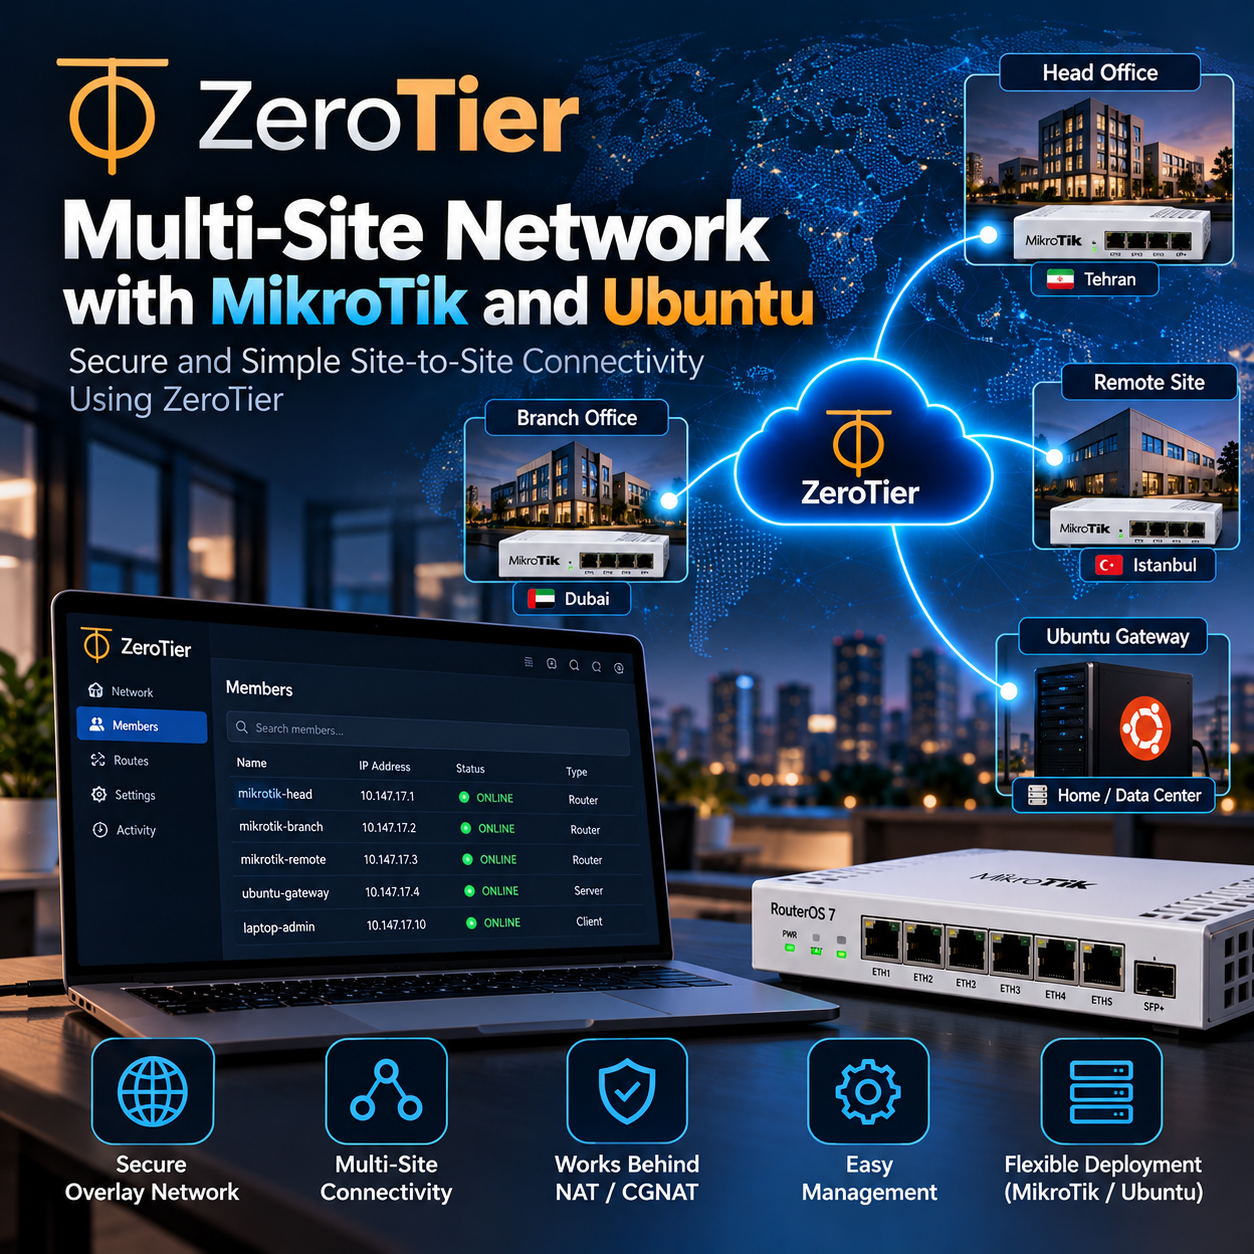
Imagine a server in one location and routers in three offices. We will first connect the devices themselves, then their LANs. The first working ping is a useful milestone, but it does not prove that an office PC can reach a remote server.
The examples use RouterOS 7 and Ubuntu Server 24.04 LTS. Commands are documentation-reviewed, not tested on live equipment. Run Linux commands in Bash and RouterOS commands in WinBox New Terminal. Replace the sample network ID with your own before running anything.
Check your router first
The MikroTik ZeroTier package is available for ARM and ARM64. Check architecture-name and RouterOS version; do not assume that CHR, x86 or MIPS can install it. Download the extra package for the exact installed RouterOS version and architecture, upload the zerotier NPK through Files and reboot during a maintenance window. Confirm it in the package list.
/system resource print
/system package print
/export file=before-zerotier
Keep a configuration export and use Safe Mode (Ctrl+X) for routing and firewall edits after reboot. On unsupported MikroTik hardware, an Ubuntu gateway on the LAN can run ZeroTier; we cover that option below.
Create a private network and plan addresses
Create a private network in ZeroTier Central and copy its 16-character hexadecimal Network ID. Choose an unused managed subnet, here 10.147.20.0/24, with its on-link managed route. Authorize only known members. Assign the following fixed managed addresses to the correct node IDs; avoid allocating the same address twice.
ZeroTier subnet: 10.147.20.0/24
Router A: 10.147.20.1   LAN A: 192.168.10.0/24
Router B: 10.147.20.2   LAN B: 192.168.20.0/24
Router C: 10.147.20.3   LAN C: 192.168.30.0/24
Ubuntu:   10.147.20.10
LANs and the overlay must not overlap each other or existing VPNs. These are lab addresses. Each MikroTik is already the default gateway of its own LAN. A shared 192.168.1.0/24 in every office is not routable as three distinct destinations; renumber it or design a separate address translation scheme.
Join MikroTik to the network
Repeat on A, B and C. The standard package provides instance zt1; inspect it before enabling. If the name differs, substitute the actual instance name. Keep default-route import off for ordinary inter-office connectivity.
/zerotier print
/zerotier enable zt1
/zerotier interface add name=zt-office instance=zt1 network=0123456789abcdef allow-managed=yes allow-default=no
/zerotier interface print detail
/ip address print
Authorize each router in Central and assign its planned managed IP. Do not manually add the same IP in RouterOS when Central already assigns it. Wait for configuration delivery, then inspect the interface and addresses again.
Install and join on Ubuntu
Download the official installer to a file so you can inspect it before executing it with sudo. This installer changes repositories and installs ZeroTier One. On a server managed by configuration tooling, use the corresponding approved package process.
sudo apt update
sudo apt install -y curl ca-certificates
curl -fsSL https://install.zerotier.com/ -o zerotier-install.sh
less zerotier-install.sh
sudo bash zerotier-install.sh
sudo systemctl enable --now zerotier-one
sudo zerotier-cli join 0123456789abcdef
sudo zerotier-cli set 0123456789abcdef allowManaged=1
sudo zerotier-cli set 0123456789abcdef allowDefault=0
sudo zerotier-cli info
sudo zerotier-cli listnetworks
Authorize Ubuntu and assign 10.147.20.10 in Central. listnetworks shows the actual zt interface name; copy that name for the examples below. ACCESS_DENIED usually means authorization is missing. ONLINE describes the node, while OK in listnetworks describes this network membership.
First test: Ubuntu to router
Allow only the intended management traffic on the overlay. On A, the following allows ping from Ubuntu and optionally SSH/WinBox from that same host. Use equivalent rules on B and C. Place them before the applicable input drop; do not add the entire overlay to a trusted LAN list.
/ip firewall filter add chain=input action=accept in-interface=zt-office src-address=10.147.20.10 protocol=icmp comment="ZT Ubuntu ping"
# Optional management access
/ip firewall filter add chain=input action=accept in-interface=zt-office src-address=10.147.20.10 protocol=tcp dst-port=22,8291 comment="ZT Ubuntu management"
/ping 10.147.20.10 count=5
If UFW is already enabled on Ubuntu, allow SSH only from router A over the actual ZeroTier interface. RouterOS input rules protect the router itself; they do not authorize traffic through it to LAN hosts. Check /ip service address restrictions as well when management connections fail.
# Replace with the interface shown by listnetworks
ZT_IF=ztabcdefgh
sudo ufw status verbose
sudo ufw allow in on "$ZT_IF" from 10.147.20.1 to any port 22 proto tcp
ping -c 4 10.147.20.1
ip -br address
Ubuntu to the LAN behind MikroTik
In Central add destination 192.168.10.0/24 via 10.147.20.1. Ubuntu with allowManaged enabled should learn it. On A allow the intended service to a specific LAN server. This example opens HTTPS to 192.168.10.50; change it to your real host and service.
/ip firewall filter add chain=forward action=accept in-interface=zt-office src-address=10.147.20.10 dst-address=192.168.10.50 protocol=tcp dst-port=443 comment="ZT Ubuntu to LAN HTTPS"Place the rule before forward drops and ensure an established,related accept rule allows replies. The LAN server must return 10.147.20.0/24 traffic through A; if another router is its gateway, add that return route there. Keep inter-site traffic free of NAT. A masquerade limited to WAN normally already excludes zt-office.
ip route get 192.168.10.50
curl --connect-timeout 5 -I https://192.168.10.50
The route should use the overlay via A. An HTTPS certificate error may still prove TCP reachability; use the real service hostname for certificate validation. If a broad masquerade also catches overlay traffic, add a narrowly scoped srcnat accept exception ahead of it, matching the real source and destination subnets.
Connect two or several MikroTik LANs
For two offices use the first two managed routes; for three add the third. All routers join the same private network, keep their planned overlay addresses and import managed routes. No separate pairwise tunnel configuration is needed.
# Managed Routes in Central: Destination -> Via
192.168.10.0/24 -> 10.147.20.1
192.168.20.0/24 -> 10.147.20.2
192.168.30.0/24 -> 10.147.20.3
On every router inspect the route table. Its own connected LAN should remain directly connected; remote LANs should use the correct ZeroTier peer. If managed routes are intentionally disabled, manually add only remote LAN routes instead. Do not combine both methods unnecessarily.
# Manual alternative on A only
/ip route add dst-address=192.168.20.0/24 gateway=10.147.20.2
/ip route add dst-address=192.168.30.0/24 gateway=10.147.20.3
/ip route print detail
For a lab where all three LANs may communicate, add this list and rules on EACH router. Replace bridge with its actual LAN interface, put these before drops, and keep established,related reply handling. Production rules should narrow source hosts and destination services to the required access.
/ip firewall address-list add list=zt-sites address=192.168.10.0/24
/ip firewall address-list add list=zt-sites address=192.168.20.0/24
/ip firewall address-list add list=zt-sites address=192.168.30.0/24
/ip firewall filter add chain=forward action=accept in-interface=bridge out-interface=zt-office src-address-list=zt-sites dst-address-list=zt-sites comment="LAN to remote sites"
/ip firewall filter add chain=forward action=accept in-interface=zt-office out-interface=bridge src-address-list=zt-sites dst-address-list=zt-sites comment="Remote sites to LAN"
Test from a real PC in A to a real server in B and C, then test the reverse direction. A router-originated ping skips its forward chain. Keep WAN NAT confined to WAN; if broad NAT exists, place site-to-site srcnat accept exceptions before it.
Ubuntu as a gateway for unsupported routers
Put Ubuntu on LAN A at 192.168.10.5, with managed IP 10.147.20.10. Advertise 192.168.10.0/24 via 10.147.20.10 instead of via A. The MikroTik remains the LAN gateway and needs routes for the overlay and remote offices via Ubuntu. Do not advertise the same LAN via two gateways in this basic example.
# MikroTik A: alternative topology
/ip route add dst-address=10.147.20.0/24 gateway=192.168.10.5
/ip route add dst-address=192.168.20.0/24 gateway=192.168.10.5
/ip route add dst-address=192.168.30.0/24 gateway=192.168.10.5echo 'net.ipv4.ip_forward=1' | sudo tee /etc/sysctl.d/90-zerotier-routing.conf
sudo sysctl --system
# Substitute actual LAN and ZeroTier interfaces; UFW must already be configured
LAN_IF=ens18
ZT_IF=ztabcdefgh
sudo ufw route allow in on "$ZT_IF" out on "$LAN_IF" from 192.168.20.0/24 to 192.168.10.0/24
sudo ufw route allow in on "$LAN_IF" out on "$ZT_IF" from 192.168.10.0/24 to 192.168.20.0/24Repeat the two scoped UFW forwarding rules for LAN C. For overlay-host access, add a separate rule from 10.147.20.0/24 to the required LAN service. If UFW is inactive or another firewall manages the host, configure equivalent rules there. No NAT is required when return routes exist. After reboot verify forwarding, firewall and routes again.
Mesh, hub, bridge and internet exit
The multi-office routes above let each office reach the others. Putting all members in one network does not force packets through a central router. To require hub inspection, design separate spoke networks or explicit routes and access policy through a hub; the hub needs forwarding, return routes and enough capacity. Confirm the actual traffic path.
Bridge is for a genuinely shared Ethernet segment, broadcasts or equipment that requires Layer 2. In a separate lab use a spare LAN port and a dedicated bridge, authorize Ethernet bridging in Central, use unique MACs, one DHCP server and loop prevention. Do not bridge your management or WAN port. The routed commands above are not a Layer 2 bridge recipe.
Separate Layer 2 bridging guide
Internet exit is optional and a separate topology. Advertise 0.0.0.0/0 via the exit node overlay IP; only clients that should use it enable allowDefault. The gateway needs scoped overlay-to-WAN forwarding and NAT for IPv4. For Ubuntu as an exit node, follow the official guide, preserve public endpoint reachability, check DNS and test from a spare client first.
# Ubuntu client only; after the exit gateway is configured
sudo zerotier-cli set 0123456789abcdef allowDefault=1
# Return to normal local internet routing
sudo zerotier-cli set 0123456789abcdef allowDefault=0
Official exit node configuration
For IPv6, assign a distinct overlay prefix and distinct LAN prefixes, then add IPv6 routes and IPv6 firewall policy at both ends. IPv4 firewall rules do not protect IPv6. Internet exit additionally needs usable routed global IPv6 space; copying IPv4 NAT commands is not sufficient.
A practical final check
Test overlay IPs, the real required service from Ubuntu, LAN-to-LAN access in both directions and normal internet access at each office. Repeat after reboot. For most office networks, distinct subnets and routing are enough; add bridging or default-route changes only for a concrete need.
When it connects but does not work
No member IP: check authorization, managed addressing and allowManaged. Overlay ping works but LAN access fails: inspect the managed route, forward rules, host firewall and return gateway. One-way access usually calls for checking the reverse route and counters rather than adding NAT immediately.
sudo zerotier-cli listnetworks
sudo zerotier-cli peers
sudo systemctl status zerotier-one --no-pager
sudo journalctl -u zerotier-one -n 50 --no-pager
ip route
sudo ufw status verbose/zerotier interface print detail
/ip route print detail
/ip firewall filter print stats
/ip firewall nat print statsSlow links may be relayed rather than direct. CGNAT or restrictive NAT can affect peer connectivity; ZeroTier is not a promise of direct connectivity on every ISP. Check UDP reachability and peer state. Do not assume allowing only destination UDP 9993 covers every peer path, and do not expose management ports on WAN to solve this.
Router and NAT troubleshooting
If short pings pass but transfers stall, investigate path MTU and packet loss before changing interface MTU everywhere. Exclude the affected traffic from FastTrack temporarily when diagnosing policy routing; do not blame FastTrack without checking counters. Test reboot persistence and revoke removed members in Central.
Best Practices
- Version-control configuration and review changes.
- Use least privilege and explicit allow-lists.
- Automate repeatable checks and monitor the expected state.
- Test upgrades and restores before production rollout.
Conclusion
A reliable implementation of ZeroTier on MikroTik and Ubuntu: connect your routers and offices is more than a successful first run. Keep the configuration documented, observable, recoverable, and aligned with the team's change-management process.
Frequently Asked Questions
Can this procedure be used in production without a maintenance window?
Only when the platform documents a safe reload or the change is isolated and rollback-tested; otherwise schedule a maintenance window.
What should be backed up before making the change?
Back up configuration, credentials held by the service, application data, and the current version of the deployment. Test the restore path.
How do I verify that the change really took effect?
Check the service health endpoint or status, inspect logs and metrics, and run a representative client-side test from the intended network zone.
What is the first check for a timeout or connection refusal?
Check listening ports, routing, firewall policy, DNS resolution, and whether the service is bound to the expected interface.
How should secrets and tokens be handled?
Use a secret manager or protected environment configuration, rotate them after exposure, and never commit them to Git or paste them into tickets.
How can this be automated safely?
Automate idempotent checks first, add dry-run support, require review for destructive operations, and emit logs and exit codes suitable for monitoring.
What should be monitored after deployment?
Monitor availability, error rate, latency, resource saturation, certificate expiry, failed jobs, and configuration drift.
When should I roll back instead of troubleshooting in place?
Rollback when the service is unavailable, data integrity is at risk, or the blast radius is growing faster than you can isolate it. Preserve logs first.