
Before you start
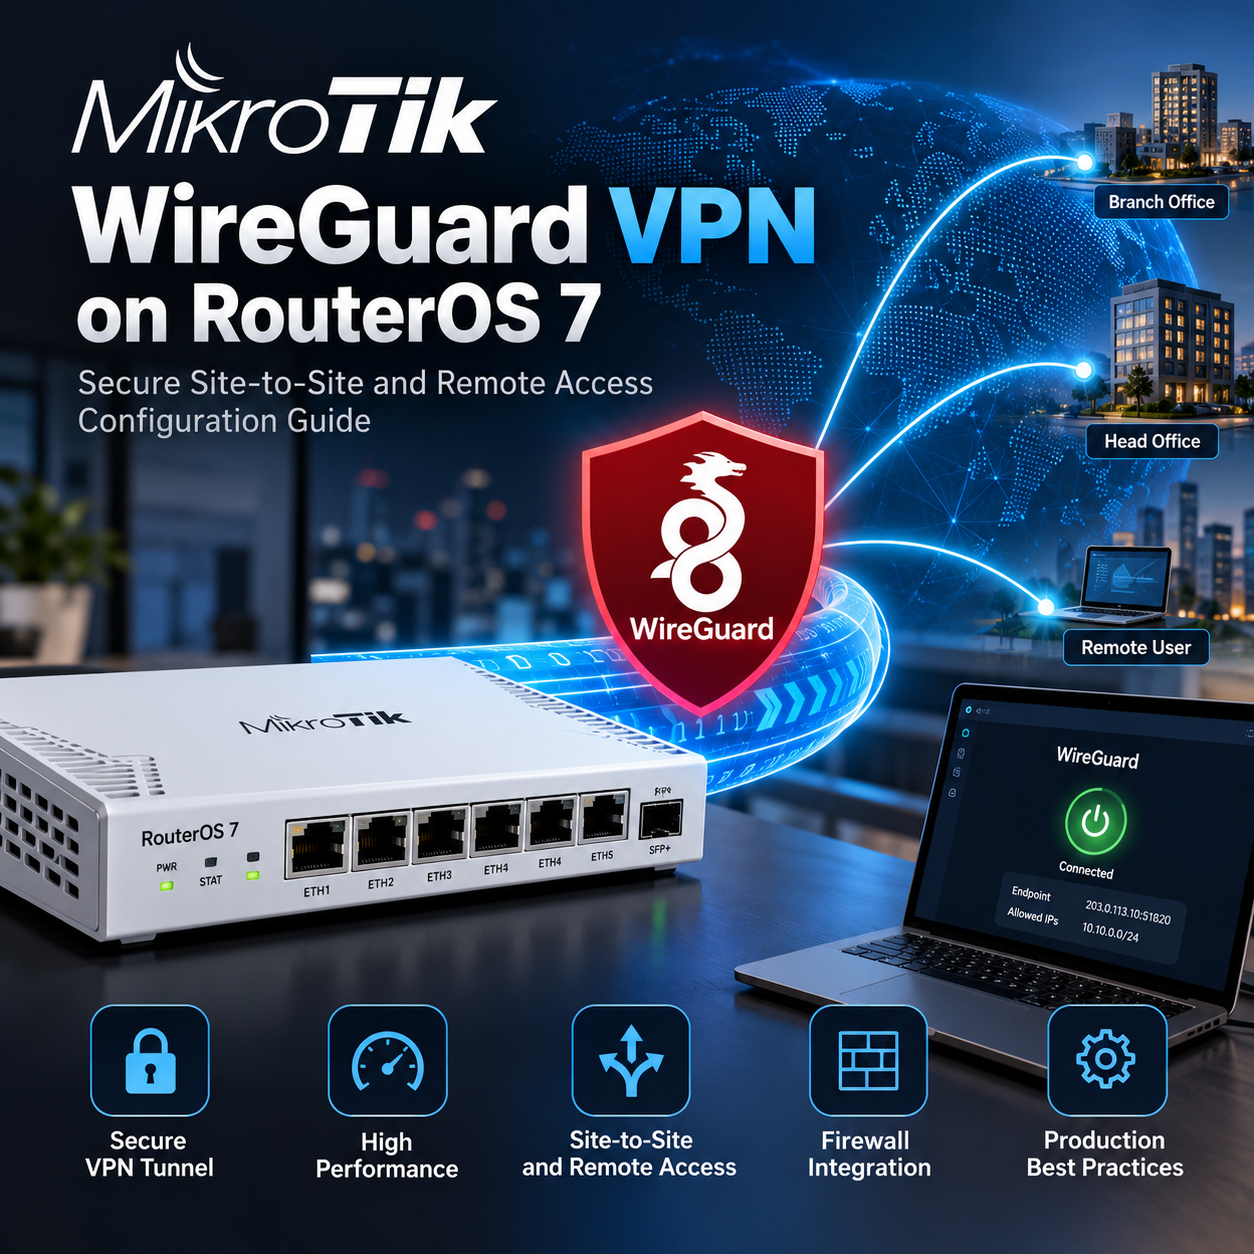
WireGuard is built into RouterOS 7. Use an updated stable release supported by your router. This guide configures IPv4 remote access first, then a separate two-site example. Run RouterOS commands in WinBox New Terminal. Export your current configuration and enter Safe Mode with Ctrl+X.
/export file=before-wireguardThe office LAN is 192.168.88.0/24, VPN is 10.77.0.0/24, router VPN address is 10.77.0.1 and one client uses 10.77.0.2. These networks must not overlap with the client LAN. Replace vpn.example.com with your public IP or DNS name. The router must be reachable on UDP 51820; forward this UDP port on an upstream modem if needed. CGNAT requires a reachable hub or an ISP public address; DDNS alone does not bypass it.
Create the interface and read its public key
/interface wireguard add name=wg-remote listen-port=51820 mtu=1420
/ip address add address=10.77.0.1/24 interface=wg-remote
:put [/interface wireguard get [find name=wg-remote] public-key]
RouterOS generates the key pair automatically. Copy only the public key to the client. Keep private keys and client QR codes secret. In WinBox the same settings are under WireGuard and IP → Addresses. MTU 1420 is a starting point; paths with extra overhead may require a smaller value.
Configure the phone or laptop
Install the official WireGuard client and create an empty tunnel. Let the app generate a new client key pair. Keep its private key locally and copy its public key into the RouterOS peer command in the next section. Replace both placeholders in this client file.
[Interface]
PrivateKey = <CLIENT_PRIVATE_KEY>
Address = 10.77.0.2/32
MTU = 1420

[Peer]
PublicKey = <ROUTER_PUBLIC_KEY>
Endpoint = vpn.example.com:51820
AllowedIPs = 10.77.0.0/24, 192.168.88.0/24
PersistentKeepalive = 25
This split tunnel routes only the office and VPN networks through WireGuard. Internet traffic uses the normal client connection. No DNS override is needed for access by IP. For internal names, configure your internal DNS address, include its network in AllowedIPs and permit its DNS traffic explicitly.
Register the client on MikroTik
/interface wireguard peers add interface=wg-remote public-key="<CLIENT_PUBLIC_KEY>" allowed-address=10.77.0.2/32 comment="Laptop"For each device create a separate peer, key pair and /32 address, such as 10.77.0.3/32. Do not copy the router public key into this field. RouterOS allowed-address describes addresses behind the remote peer; client AllowedIPs selects destinations sent to the office. Allowed-address entries must not overlap on the same interface and do not create RouterOS routes or replace firewall policy.
Permit the required traffic
First confirm the WAN interface list contains the actual internet interface, including PPPoE when applicable. Add these rules, then move each above the relevant drop in WinBox. Keep an established,related accept rule before forward drops so LAN replies can return. The example grants this client access to the whole office LAN; narrow destinations and ports for your environment.
/interface list member print
/ip firewall filter add chain=input action=accept in-interface-list=WAN protocol=udp dst-port=51820 comment="WG handshake"
/ip firewall filter add chain=input action=accept in-interface=wg-remote src-address=10.77.0.2 protocol=icmp comment="WG ping router"
/ip firewall filter add chain=forward action=accept in-interface=wg-remote src-address=10.77.0.2 dst-address=192.168.88.0/24 comment="WG client to office"
Do not add WireGuard to the trusted LAN list just to make it work. Router management needs its own restricted input permission, for example TCP 8291 from your administrator peer only. Keep WinBox off the public WAN. The office hosts must use this MikroTik as gateway, or their gateway needs a return route for 10.77.0.0/24. A WAN-only masquerade requires no extra NAT for office access; broad source NAT rules may need a scoped exemption before them.
Connect and verify
Activate the client from mobile data or another external network and ping 10.77.0.1, then a real office host. Generate traffic before checking handshake. A fresh last-handshake plus increasing rx/tx confirms encrypted exchange, but application access still depends on routing and firewall.
/interface wireguard peers print detail
/ip firewall filter print stats
/ip route print
If handshake is absent, check endpoint DNS, UDP forwarding, public IP, rule position and exchanged public keys. If handshake works but LAN does not, check AllowedIPs, return routes, forward rules and the host firewall. If small pings work but transfers stall, inspect MTU and path MTU discovery. Do not disable the firewall to diagnose.
Introduction
This guide explains Set Up WireGuard on MikroTik RouterOS 7 in a production-aware way, including the design choices, implementation checks, and operational safeguards that matter for MikroTik environments.
Architecture and Core Concepts
Understand the data flow, trust boundaries, dependencies, and the expected state before changing a live environment. Separate control-plane configuration from data-plane traffic and document every external dependency.
Best Practices
- Version-control configuration and review changes.
- Use least privilege and explicit allow-lists.
- Automate repeatable checks and monitor the expected state.
- Test upgrades and restores before production rollout.
Security Considerations
Production safety
- Do not expose management interfaces or databases to the public Internet.
- Store passwords, tokens, and private keys outside the article and source repository.
- Patch dependencies, restrict administrative access, and retain audit logs.
Troubleshooting
| Symptom | Cause / Check | Resolution |
|---|---|---|
| Service does not start | Check service status, logs, ports, permissions, and configuration syntax. | Fix the reported dependency or syntax error, then restart and verify health checks. |
| Clients cannot connect | Validate DNS, routing, firewall policy, TLS, and listening address from both endpoints. | Allow only the required source and destination, reload safely, and retest with a controlled client. |
| Change caused an outage | Compare the change with the last known-good version and inspect audit and application logs. | Rollback the smallest possible change, restore service, then document the root cause and prevention. |
Conclusion
A reliable implementation of Set Up WireGuard on MikroTik RouterOS 7 is more than a successful first run. Keep the configuration documented, observable, recoverable, and aligned with the team's change-management process.
Frequently Asked Questions
Can this procedure be used in production without a maintenance window?
Only when the platform documents a safe reload or the change is isolated and rollback-tested; otherwise schedule a maintenance window.
What should be backed up before making the change?
Back up configuration, credentials held by the service, application data, and the current version of the deployment. Test the restore path.
How do I verify that the change really took effect?
Check the service health endpoint or status, inspect logs and metrics, and run a representative client-side test from the intended network zone.
What is the first check for a timeout or connection refusal?
Check listening ports, routing, firewall policy, DNS resolution, and whether the service is bound to the expected interface.
How should secrets and tokens be handled?
Use a secret manager or protected environment configuration, rotate them after exposure, and never commit them to Git or paste them into tickets.
How can this be automated safely?
Automate idempotent checks first, add dry-run support, require review for destructive operations, and emit logs and exit codes suitable for monitoring.
What should be monitored after deployment?
Monitor availability, error rate, latency, resource saturation, certificate expiry, failed jobs, and configuration drift.
When should I roll back instead of troubleshooting in place?
Rollback when the service is unavailable, data integrity is at risk, or the blast radius is growing faster than you can isolate it. Preserve logs first.
Optional: route client internet through the office
For an IPv4 full tunnel, change client AllowedIPs to 0.0.0.0/0 and choose a reachable DNS resolver. Add the following forward rule above relevant drops. Add the NAT rule only if your existing WAN masquerade does not already cover the VPN source. Do not add ::/0 without an IPv6 addressing, routing and firewall design: native client IPv6 can still use its local connection in this IPv4-only example.
/ip firewall filter add chain=forward action=accept in-interface=wg-remote src-address=10.77.0.2 out-interface-list=WAN comment="WG client internet"
/ip firewall nat add chain=srcnat action=masquerade src-address=10.77.0.0/24 out-interface-list=WAN comment="WG internet NAT"
Separate example: connect two offices
Use a separate wg-site interface. A has public endpoint vpn.example.com and LAN 192.168.10.0/24; B has LAN 192.168.20.0/24 and initiates the tunnel, even behind NAT. Run the shared command on both routers, exchange their public keys, then run each side’s block. This is routed Layer 3 connectivity; WireGuard does not extend Ethernet broadcasts.
/interface wireguard add name=wg-site listen-port=51821 mtu=1420
:put [/interface wireguard get [find name=wg-site] public-key]# Router A
/ip address add address=10.78.0.1/30 interface=wg-site
/interface wireguard peers add interface=wg-site public-key="<B_PUBLIC_KEY>" allowed-address=10.78.0.2/32,192.168.20.0/24
/ip route add dst-address=192.168.20.0/24 gateway=wg-site
/ip firewall filter add chain=input action=accept in-interface-list=WAN protocol=udp dst-port=51821 comment="WG site handshake"
# Router B
/ip address add address=10.78.0.2/30 interface=wg-site
/interface wireguard peers add interface=wg-site public-key="<A_PUBLIC_KEY>" allowed-address=10.78.0.1/32,192.168.10.0/24 endpoint-address=vpn.example.com endpoint-port=51821 persistent-keepalive=25
/ip route add dst-address=192.168.10.0/24 gateway=wg-siteForward UDP 51821 to A if it has an upstream modem, and move A’s input rule above the drop. On BOTH routers add the two forward rules below before relevant drops. Each LAN must use its own MikroTik as gateway or have explicit return routes. Keep source NAT out of inter-site traffic; a masquerade scoped to WAN normally already does this. Test real hosts in both directions.
/ip firewall filter add chain=forward action=accept src-address=192.168.10.0/24 dst-address=192.168.20.0/24 comment="WG A to B"
/ip firewall filter add chain=forward action=accept src-address=192.168.20.0/24 dst-address=192.168.10.0/24 comment="WG B to A"
Maintenance and rollback
Remove a lost device’s peer immediately to revoke access. Protect configuration backups, use separate device keys and review firewall counters. If the new setup is wrong, disable the new peers and interfaces and remove only the rules and routes created for this guide after checking management access. Commands were reviewed against official documentation; they were not executed on physical RouterOS devices.